Firmwares and drivers for an Arduino-based 6-DOF calibrator tool.
Concept art:

Final prototype:

Do you want to make one yourself? Nice!
| # | Name | Qty | Link |
|---|---|---|---|
| 1 | 3D model - 2 parts (.STL) | 1 | https://www.tinkercad.com/things/1XgNqGJ9kwN |
| 2 | PCB board (34*26 holes) | 1 | any |
| 3 | Resistance 180 Ohm | 1 | any |
| 4 | Resistance 220 Ohm | 3 | any |
| 5 | Resistance 270 Ohm | 1 | any |
| 6 | Resistance 510 Ohm | 1 | any |
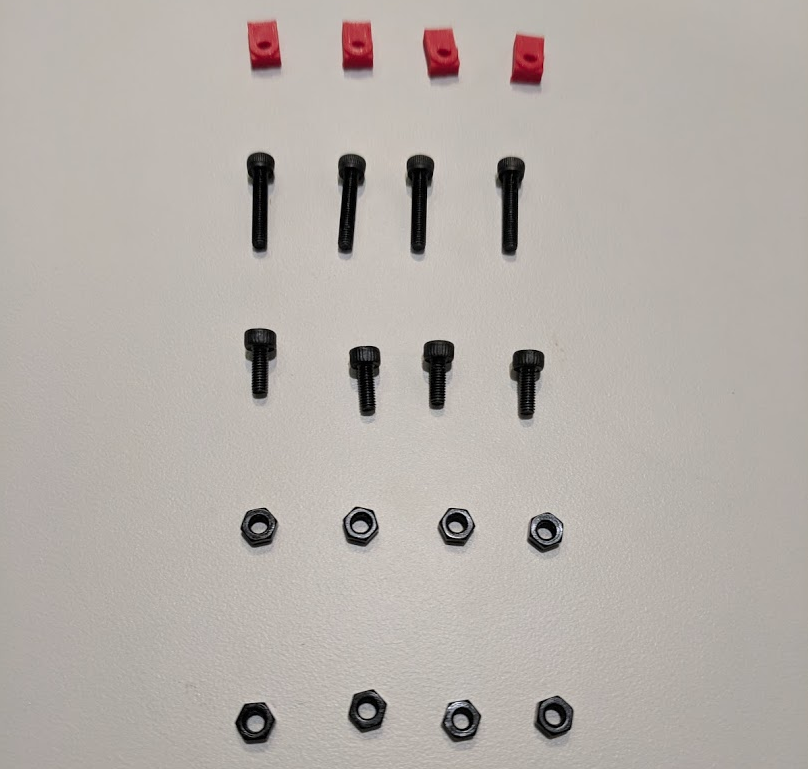
| 7 | M3x8 screws (PCB holders) | 4 | any |
| 8 | M3x16 screws (Bottom part) | 4 | any |
| 9 | M3 nuts | 8 | any |
| 10 | 5mm RGB LED | 6 | any |
| 11 | 10K linear potentiometer | 6 | https://www.adafruit.com/product/562 |
| 12 | Potentiometer knob 30 x 10mm | 6 | https://www.aliexpress.com/item/Potentiometer-Knob-30-x-10mm-1-Pieces/32745439004.html |
| 13 | Adafruit Itsy Bitsy M0 Express | 1 | https://www.adafruit.com/product/3727 |
| 14 | 3D printable PCB holder | 4 | https://www.tinkercad.com/things/asoKI28gtia |
| 15 | Header pins and wires | * | any |