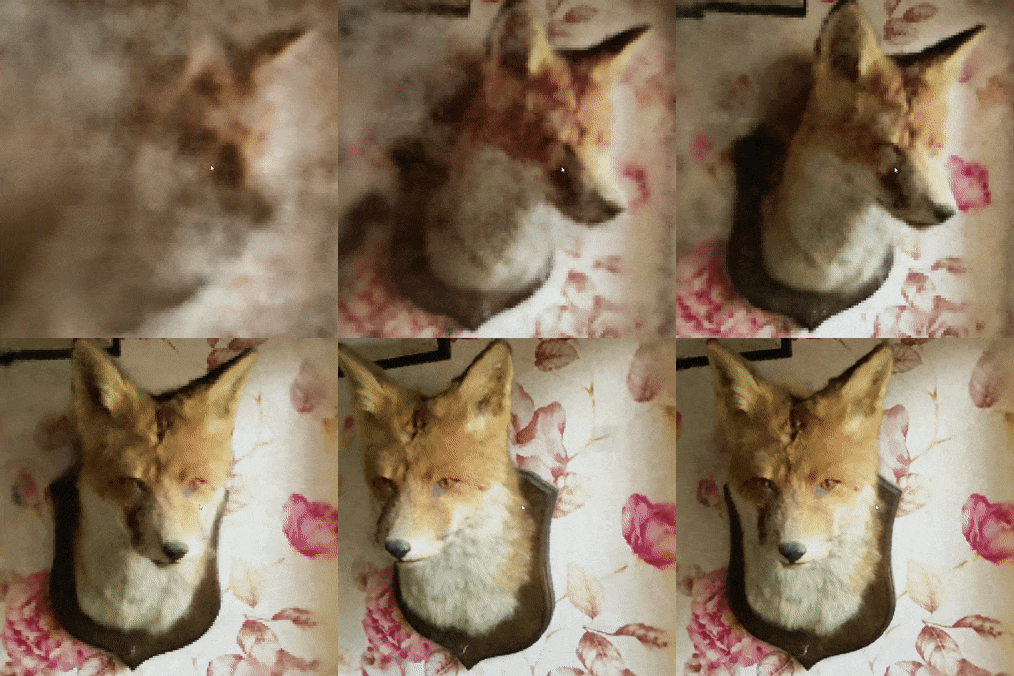
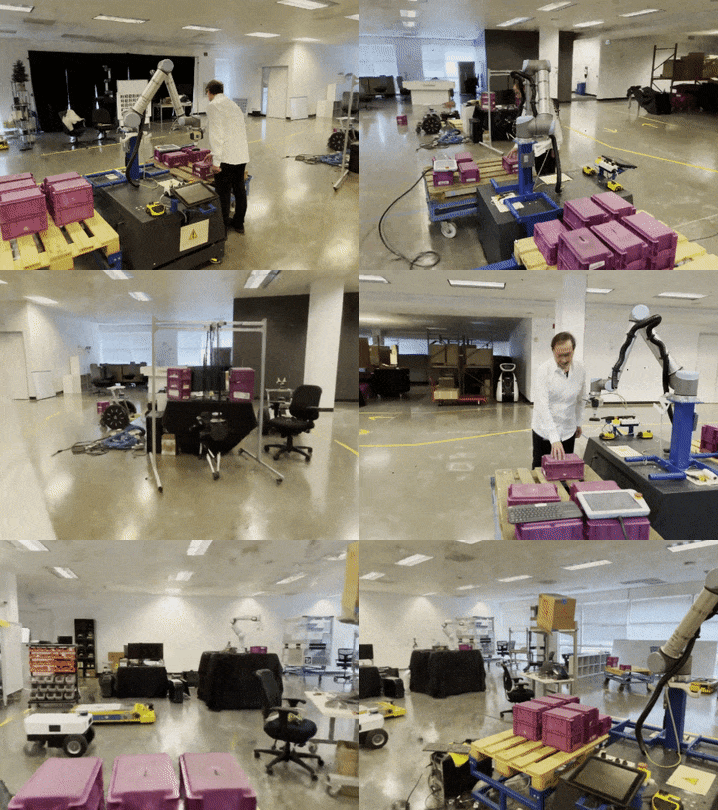
Ever wanted to train a NeRF model of a fox in under 5 seconds? Or fly around a scene captured from photos of a factory robot? Of course you have!
Here you will find an implementation of four neural graphics primitives, being neural radiance fields (NeRF), signed distance functions (SDFs), neural images, and neural volumes. In each case, we train and render a MLP with multiresolution hash input encoding using the tiny-cuda-nn framework.
Instant Neural Graphics Primitives with a Multiresolution Hash Encoding
Thomas Müller, Alex Evans, Christoph Schied, Alexander Keller
arXiv [cs.GR], Jan 2022
[ Project page ] [ Paper ] [ Video ]
For business inquiries, please visit our website and submit the form: NVIDIA Research Licensing
- Both Windows and Linux are supported.
- CUDA v10.2 or higher, a C++14 capable compiler, and CMake v3.19 or higher.
- A high-end NVIDIA GPU that supports TensorCores and has a large amount of memory. The framework was tested primarily with an RTX 3090.
- (optional) Python 3.7 or higher for interactive bindings. Also, run
pip install -r requirements.txt.- On some machines,
pyexrrefuses to install viapip. This can be resolved by installing OpenEXR from here.
- On some machines,
- (optional) OptiX 7.3 or higher for faster mesh SDF training. Set the environment variable
OptiX_INSTALL_DIRto the installation directory if it is not discovered automatically.
If you are using Linux, install the following packages
sudo apt-get install build-essential git python3-dev python3-pip libopenexr-dev libxi-dev \
                     libglfw3-dev libglew-dev libomp-dev libxinerama-dev libxcursor-dev
We also recommend installing CUDA and OptiX in /usr/local/ and adding the CUDA installation to your path.
For example, if you have CUDA 11.4, add the following to your ~/.bashrc
export PATH="/usr/local/cuda-11.4/bin:$PATH"
export LD_LIBRARY_PATH="/usr/local/cuda-11.4/lib64:$LD_LIBRARY_PATH"Begin by cloning this repository and all its submodules using the following command:
$ git clone --recursive https://github.com/nvlabs/instant-ngp
$ cd instant-ngp
Then, use CMake to build the project:
instant-ngp$ cmake . -B build
instant-ngp$ cmake --build build --config RelWithDebInfo -j 16
If the build succeeded, you can now run the code via the build/testbed executable or the scripts/run.py script described below.
If automatic GPU architecture detection fails, (as can happen if you have multiple GPUs installed), set the TCNN_CUDA_ARCHITECTURES enivonment variable for the GPU you would like to use. Set it to 86 for RTX 3000 cards, 80 for A100 cards, and 75 for RTX 2000 cards.
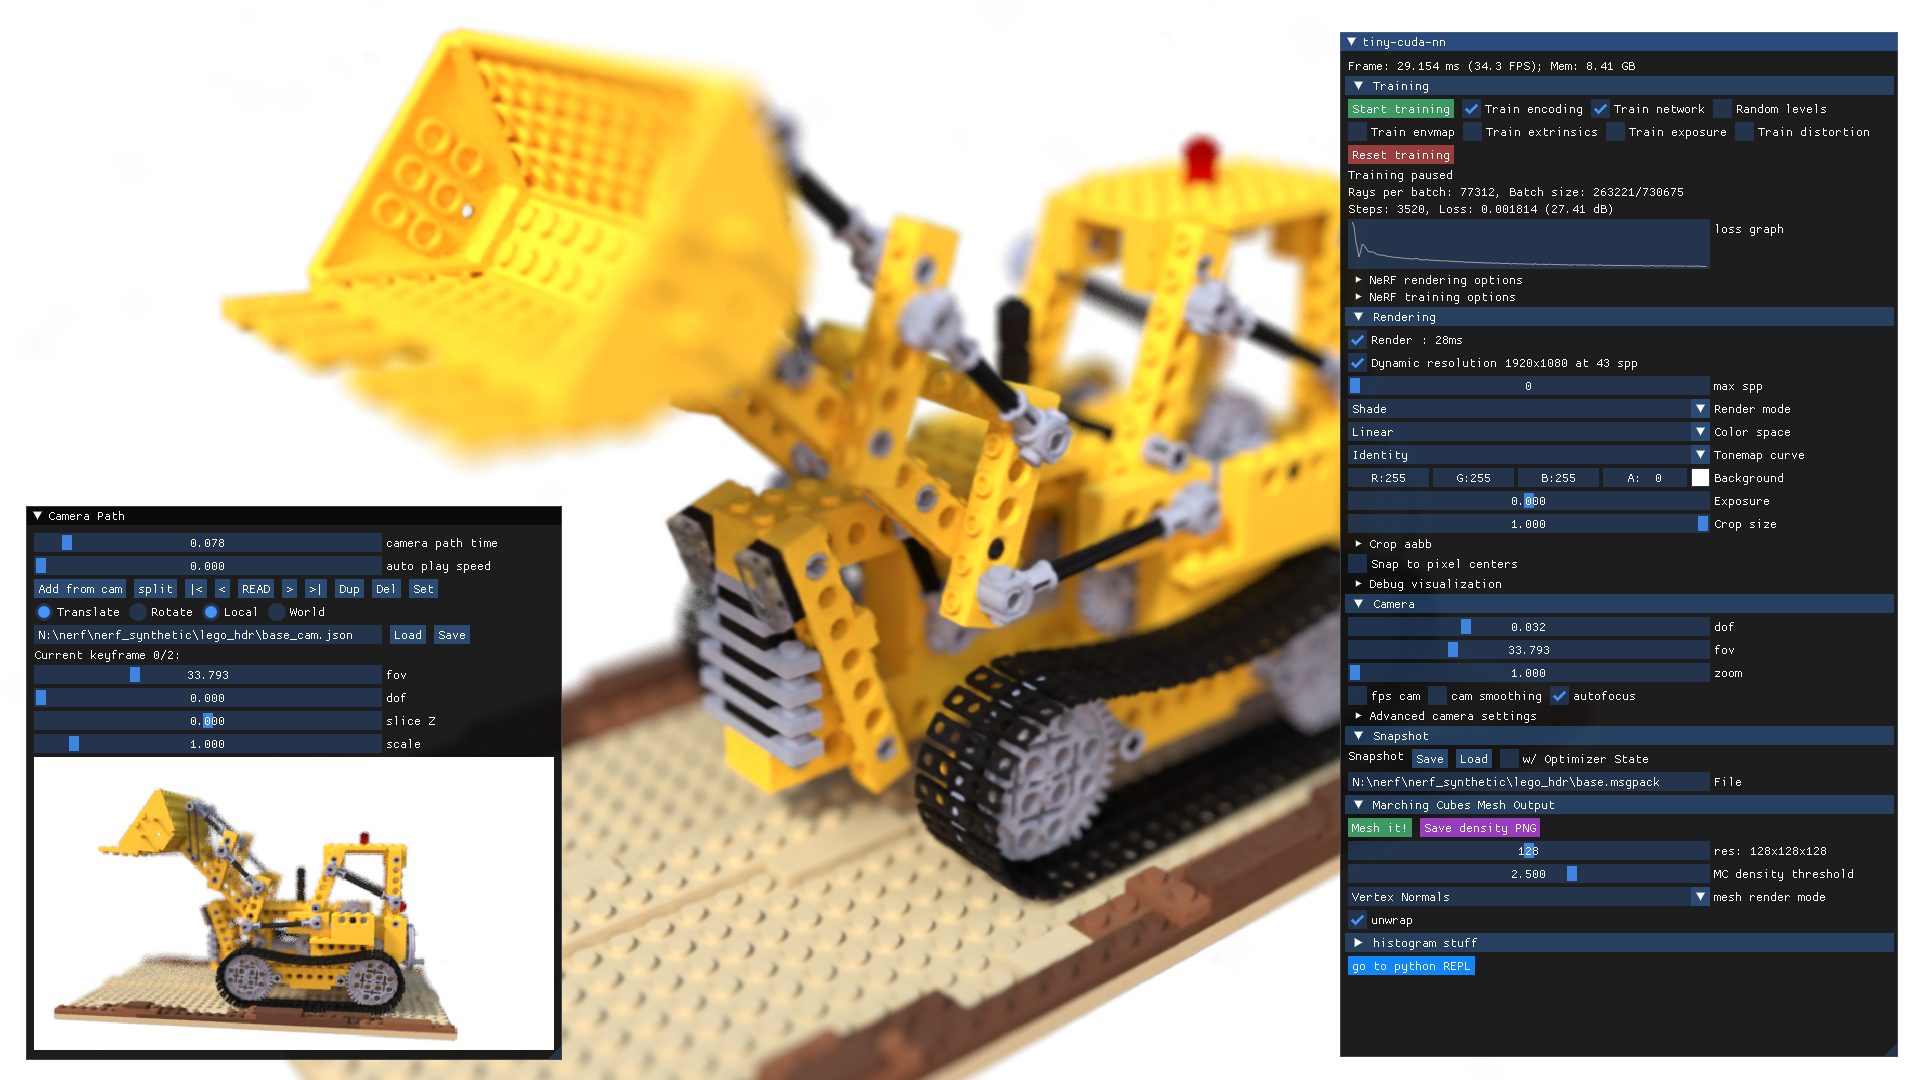
This codebase comes with an interactive testbed that includes many features beyond our academic publication:
- Additional training features, such as real-time camera ex- and intrinsics optimization.
- Marching cubes for NeRF->Mesh and SDF->Mesh conversion.
- A spline-based camera path editor to create videos.
- Debug visualizations of the activations of every neuron input and output.
- And many more task-specific settings.
- See also our one minute demonstration video of the tool.
One test scene is provided in this repository, using a small number of frames from a casually captured phone video:
instant-ngp$ ./build/testbed --scene data/nerf/foxAlternatively, download any NeRF-compatible scene (e.g. from the NeRF authors' drive). Now you can run:
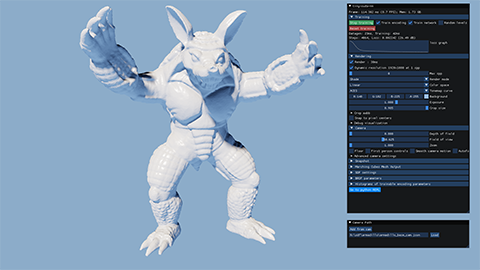
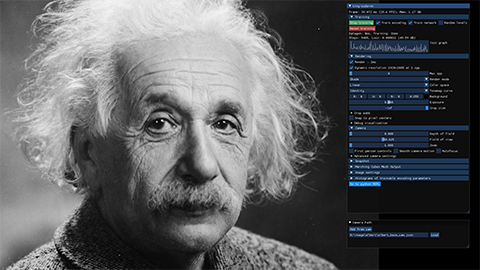
instant-ngp$ ./build/testbed --scene data/nerf_synthetic/legoinstant-ngp$ ./build/testbed --scene data/sdf/armadillo.objinstant-ngp$ ./build/testbed --scene data/image/albert.exrDownload the nanovdb volume for the Disney cloud, which is derived from here (CC BY-SA 3.0).
instant-ngp$ ./build/testbed --mode volume --scene data/volume/wdas_cloud_quarter.nvdbOur NeRF implementation expects initial camera parameters to be provided in a transforms.json file in a format compatible with the original NeRF codebase.
We provide a script as a convenience, scripts/colmap2nerf.py, that can be used to process a video file or sequence of images, using the open source COLMAP structure from motion software to extract the necessary camera data.
Make sure that you have installed COLMAP and that it is available in your PATH. If you are using a video file as input, also be sure to install FFMPEG and make sure that it is available in your PATH.
To check that this is the case, from a terminal window, you should be able to run colmap and ffmpeg -? and see some help text from each.
If you are training from a video file, run the colmap2nerf.py script from the folder containing the video, with the following recommended parameters:
data-folder$ python [path-to-instant-ngp]/scripts/colmap2nerf.py --video_in <filename of video> --video_fps 2 --run_colmap --aabb_scale 16The above assumes a single video file as input, which then has frames extracted at the specified framerate (2). It is recommended to choose a frame rate that leads to around 50-150 images. So for a one minute video, --video_fps 2 is ideal.
For training from images, place them in a subfolder called images and then use suitable options such as the ones below:
data-folder$ python [path-to-instant-ngp]/scripts/colmap2nerf.py --colmap_matcher exhaustive --run_colmap --aabb_scale 16The script will run ffmpeg and/or COLMAP as needed, followed by a conversion step to the required transforms.json format, which will be written in the current directory.
By default, the script invokes colmap with the 'sequential matcher', which is suitable for images taken from a smoothly changing camera path, as in a video. The exhaustive matcher is more appropriate if the images are in no particular order, as shown in the image example above.
For more options, you can run the script with --help. For more advanced uses of COLMAP or for challenging scenes, please see the COLMAP documentation; you may need to modify the scripts/colmap2nerf.py script itself.
The aabb_scale parameter is the most important instant-ngp specific parameter. It specifies the extent of the scene, defaulting to 1; that is, the scene is scaled such that the camera positions are at an average distance of 1 unit from the origin. For small synthetic scenes such as the original NeRF dataset, the default aabb_scale of 1 is ideal and leads to fastest training. The NeRF model makes the assumption that the training images can entirely be explained by a scene contained within this bounding box. However, for natural scenes where there is a background that extends beyond this bounding box, the NeRF model will struggle and may hallucinate 'floaters' at the boundaries of the box. By setting aabb_scale to a larger power of 2 (up to a maximum of 16), the NeRF model will extend rays to a much larger bounding box. Note that this can impact training speed slightly. If in doubt, for natural scenes, start with an aabb_scale of 16, and subsequently reduce it if possible. The value can be directly edited in the transforms.json output file, without re-running the colmap2nerf script.
Assuming success, you can now train your NeRF model as follows, starting in the instant-ngp folder:
instant-ngp$ ./build/testbed --mode nerf --scene [path to training data folder containing transforms.json]The NeRF model trains best with between 50-150 images which exhibit minimal scene movement, motion blur or other blurring artefacts. The quality of reconstruction is predicated on COLMAP being able to extract accurate camera parameters from the images.
The colmap2nerf.py script assumes that the training images are all pointing approximately at a shared 'point of interest', which it places at the origin. This point is found by taking a weighted average of the closest points of approach between the rays through the central pixel of all pairs of training images. In practice, this means that the script works best when the training images have been captured 'pointing inwards' towards the object of interest, although they do not need to complete a full 360 view of it. Any background visible behind the object of interest will still be reconstructed if aabb_scale is set to a number larger than 1, as explained above.
To conduct controlled experiments in an automated fashion, all features from the interactive testbed (and more!) have Python bindings that can be easily instrumented.
For an example of how the ./build/testbed application can be implemented and extended from within Python, see ./scripts/run.py, which supports a superset of the command line arguments that ./build/testbed does.
Happy hacking!
Many thanks to Jonathan Tremblay and Andrew Tao for testing early versions of this codebase.
This project makes use of a number of awesome open source libraries, including:
- tiny-cuda-nn for fast CUDA MLP networks
- tinyexr for EXR format support
- tinyobjloader for OBJ format support
- stb_image for PNG and JPEG support
- Dear ImGui an excellent immediate mode GUI library
- Eigen a C++ template library for linear algebra
- pybind11 for seamless C++ / Python interop
- and others! See the
dependenciesfolder.
Many thanks to the authors of these brilliant projects!
Copyright © 2022, NVIDIA Corporation. All rights reserved.
This work is made available under the Nvidia Source Code License-NC. Click here to view a copy of this license.
