wrong results on my own KinectV2 data
Bingoang opened this issue · comments

Hi, Wang
I really appreciate your great work!
I want to run NormalGAN on my own KinectV2 data, but met some problems:
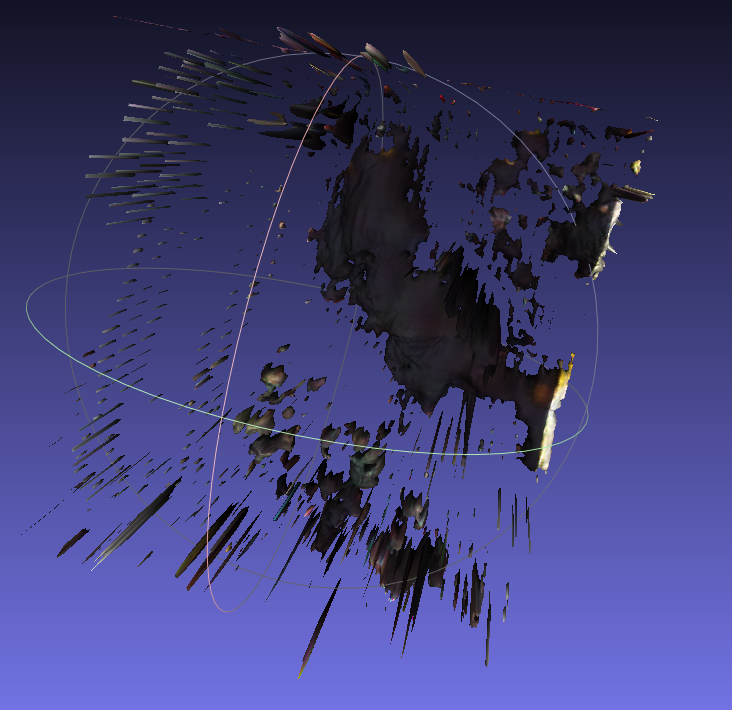
The output is so terrible, and it looks even not like a human at all...
I tried to put many frames into NomalGAN, and also did some simple denoising, but the outputs nearly kept the same...(T_T)
My color map: size: 512 * 424, type: CV_8UC3 (24bit);
My depth map: size: 512 * 424, type: CV_16UC1 (16bit);
Here are my maps and output:


Here are the cz0 and cz1:


Your NoramalGAN is so magic and I really want to play it well on my data.
So I hope you can give me some advice. Thanks a lot!
Best wishes

Hi,
I'm also testing NormalGAN with my own data from Kinect V2, i think your problem is in depth image pixel values.
Modifying 'multiframe_listener.py' example from pylibfreenect2, i save depth image as follows using numpy and PIL:
depth = frames["depth"]
depth_np=depth.asarray(np.float32).astype(np.int32,order='C')
depth_img=Image.fromarray(depth_np)
depth_img.save('depth.png')
At this way, it preserves distance in mm as pixel value. After that, I removed background with a mask from color image.
My results are not very promising but at least it looks like human:
inputs.zip


I don't know if is the right way of taking depth images, but results are a slightly better.
I am really interested on how to improve my results, any suggestions will be appreciated!

Our input depth value is expressed in mm, and the real input size is the center area with resolution of 424 x 424 , and depth range from about 1.2 meters to 1.7 meters (the person should stand around the image center and in a proper distance). Maybe you can check your depth maps compared with our depth map in testdata?
@Luciano07 Thanks very much for your outputs and detailed suggestions!
The key factor I think may be the way we get the depth map and color map without background.
Can you share your code that removes background from depth and color map? I want to compare with mine and find the reasons.
@LizhenWangT Thanks for your nice suggestion~ I wonder if you could release your team's source code for removing the background from color map and depth map?
@Bingoang I use this library for remove background of color image:
https://pypi.org/project/rembg/
and after that i removed background of depth using PIL and numpy with:
# Open images
im_c = Image.open('01_color.png')
im_d = Image.open('01_depth.png')


ni = np.array(im_c)
# Mask pixels where pixels are 0,0,0(black)
mask = ni==[0,0,0]
mask = Image.fromarray(mask[:,:,0])

im_d.paste(mask, mask=mask)

im_d.save('depth_mask.png')
@LizhenWangT Thanks for your suggestions, I will try with it!
@LizhenWangT Thanks for your nice suggestion~ I wonder if you could release your team's source code for removing the background from color map and depth map?
We use the Registration class of pylibfreenect2 (https://github.com/r9y9/pylibfreenect2) to map our color image to depth image. Then, we directly cut the depth image with a lower and a higher thresthod (something like mask = (depth > 1000) * (depth < 1800)).
@Luciano07 @LizhenWangT THANKS for your qiuck reply! I will have a try according to your suggestions~

@Bingoang I doesn't look beautiful neither :'(
I used remgb and manually clean the registered color image and later remove depth pixel from clean color image (see python snippet above)

I obtain better result modifying depth (no need to modify the color) using :
import cv2
from matplotlib import pyplot as plt
img = cv2.imread('../datasets/testdata/depth/04.png', -1)
plt.imshow(img, cmap="gray")
plt.show()

img[img<1800] = 256*256-1 #white
img[img>2500] = 256*256-1

cv2.imwrite('../datasets/testdata/depth/04b.png', img)
I put in white, to be easily visible in gimp. Later I open depth image in gimp and remove a couple or rectangles (rectangle select tool + del) : top, right, bottom, left, and other to have better feet. You can cut the feet if you are lazy, result will be the similar (without the feet of couse). I also set -up_thres=2500

I look pretty thick, but this is I guess because my camera was kinect was slighly tilted (I should try to have the camera at my half high (0.88cm) and not tilted at all).
I made some tries setting cx,cy,fx,fy with thoses provided by the freenect from my kinect v2 and also Z (in test_offline.py) but no much differences
One more try with the camera horizontal (img[img<1850] = 256*256-1 img[img>2300] = 256*256-1) + gimp remove some rectangles. It's look like similar to the quality of the paper.
I see 2 ways to improve the quality with that pipeline
- use the FHD rgb and FHD depth (upscaled - "bigdepth") - probaby need to retrain with 1080x1920
- improve the depth maps, specially the missing parts close to edge

some comparison with pifuhd (some small rgb only used)

FYI, setting fix_p from 1555 (mm) to 1650 (mm) give me a better thickness (maybe fix_m must be equals to Z ?

)