ENet Unity Mobile Setup
Bootstrap setup for a client server architecture


Description
A multiplayer setup with a unity client and a .Net Core server. The application is a very simple chat server, that shows how the clients can communicate with the server and vice versa. Other than being a small tech demo, the repo explains how to compile ENet for android and iOS and provides built libraries for those platforms to kickstart your project.
| Client platform support | 32 Bit | 64 bit | ARM |
|---|---|---|---|
| Android | ✔️ | ✔️ | ➖ |
| iOS | ➖ | ✔️ | ➖ |
| Windows | ❌ | ✔️ | ❌ |
| MacOS | ❌ | ✔️ | ✔️ |
| Linux | ❌ | ✔️ | ❌ |
The server application is built with .Net Core and therefore will run on Windows, Mac or Linux.
Libraries
- ENet-CSharp 2.4.8
- Unity 2021.3.11f1, but should work fine in almost any version
- .Net 6 Server
Run Project
Server

Get the appropriate build from the release section and run it via command line. Alternatively you can also open the ENetServer Solution with the IDE of your choice and run it.
The server listens to Port 3333 and can be aborted by pressing any key.
Client

Either get the build for Android or Windows from the release page or open the project in Unity and run it (Make sure you started the server). Find out the ip of your server (127.0.0.1 if it is on the same machine), and click connect.
When connected successfully, you can enter messages in the box next to the send button. The messages will be broadcasted to all other clients that are online at that time.
Build Libraries
The easiest way is to get the built libraries from the release page.
If you want to build them yourself (or for a newer ENet version), take a look at the instructions below.
Android
- Install NDK (Or search for the version you use inside unity)
- Install make - On Windows use Cygwin
- Add the ndk build folder to your
pathenvironment variables e.gC:/Data/SDKs/android-ndk-r19c/build - Clone
git@github.com:nxrighthere/ENet-CSharp.git - Navigate to
ENet-CSharp/Source/Native - If you ran the script before, you might want to delete the obj folder inside Native first, to be sure the project is regenerated
- Run
ndk-buildin the Native folder. - Copy the folders
arm64-v8a,armeabi-v7aandx86from the generated libs folder to your unity project toAssets/Enet/Plugins/Android/. - Set
arm64-v8ato ARM64,armeabi-v7ato ARMv7 andx86to x86.
iOS
- Install XCode
- Clone
git@github.com:nxrighthere/ENet-CSharp.git - Navigate to
ENet-CSharp/Source/Native - Run
sh build-ios.sh - Copy
libenet.ato your unity project toAssets/Enet/Plugins/iOS/libenet.a - Set
libenet.ato iOS only with CPU ARM64
Windows
- Install CMake & Visual Studio with C++
- Navigate to
ENet-CSharp/Source/Native - Create a folder called
buildand open a terminal there - run
cmake ..\ -DENET_SHARED=true- this should fill your build folder with a visual studio project.- Alternatively you can also use the cmake GUI to set up your project.
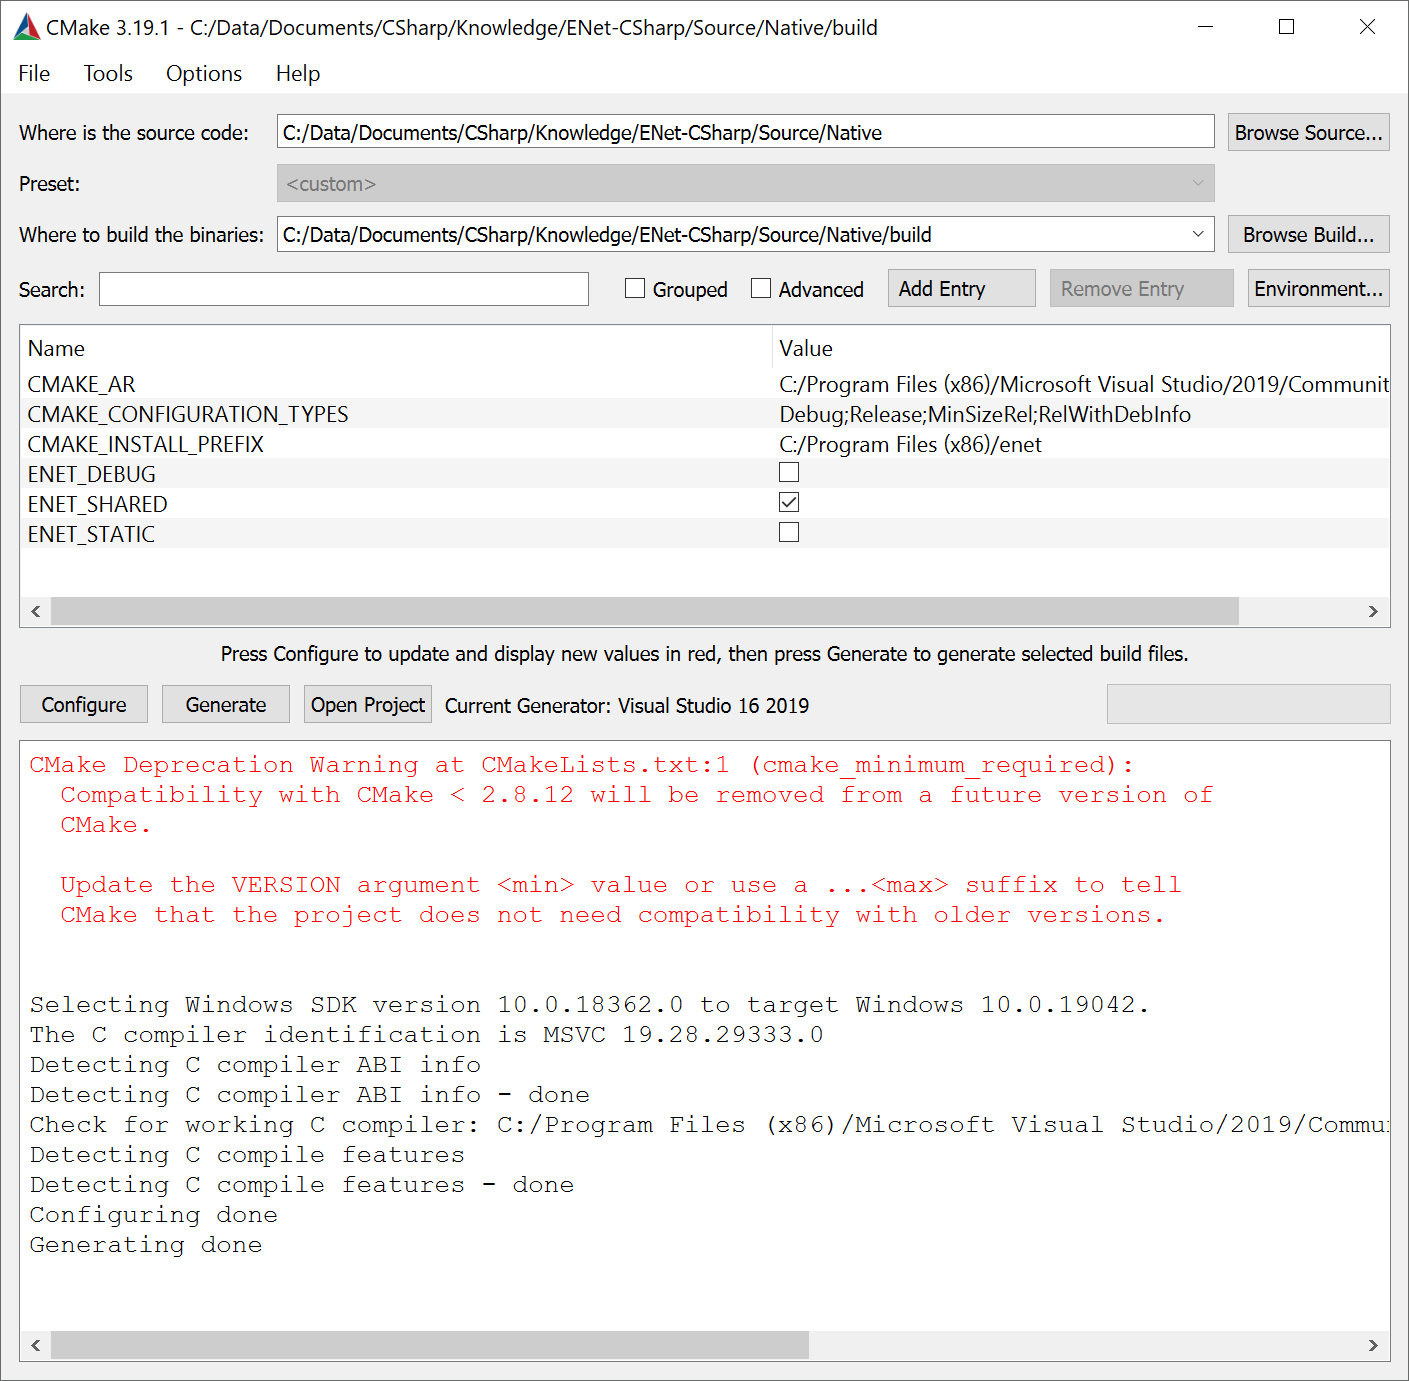
- Alternatively you can also use the cmake GUI to set up your project.
- Open your sln file and build with MinSizeRel
- Copy the generated dll from
ENet-CSharp/Source/Native/build/MinSizeRel/enet.dllto your unity project toAssets/Enet/Plugins/x86_64 - Set
enet.dllfor Editor and Standalone with Windows x64

MacOS
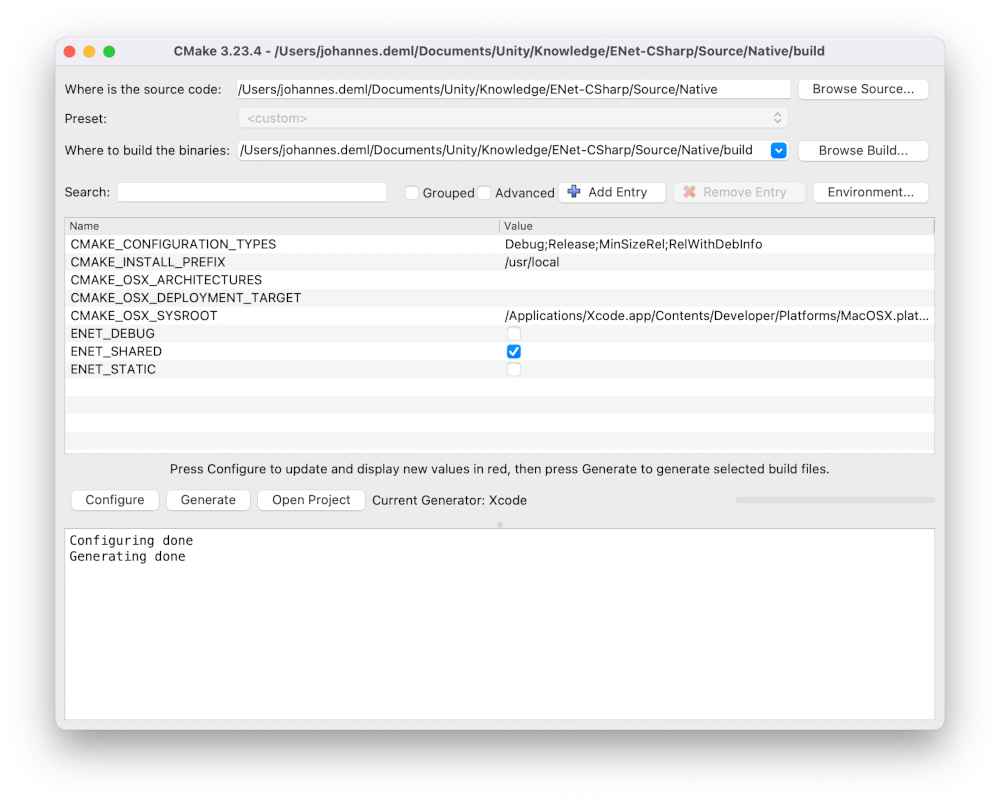
- Install CMake and XCode
- Navigate to
ENet-CSharp/Source/Native - Create a folder called
build - Run CMake and select the native and build folder accordingly. Then click Configure and be sure to use the Generator Xcode. After Generating the button Open Project should be clickable (otherwise check the logs inside the build folder to find out what went wrong)
- In XCode Edit the schema to build for Release or MinSizeRel
- Build the file, you should find your build here:
ENet-CSharp/Source/Native/build/Release/libenet.dylib - I merged this ARM build with the x64 build through
lipo -create ./libenet.bundle ./libenet.dylib -output merged/libenet.dylib - Add this library to your Plugins folder and be sure to select all CPUs
