Custom Vision Companion
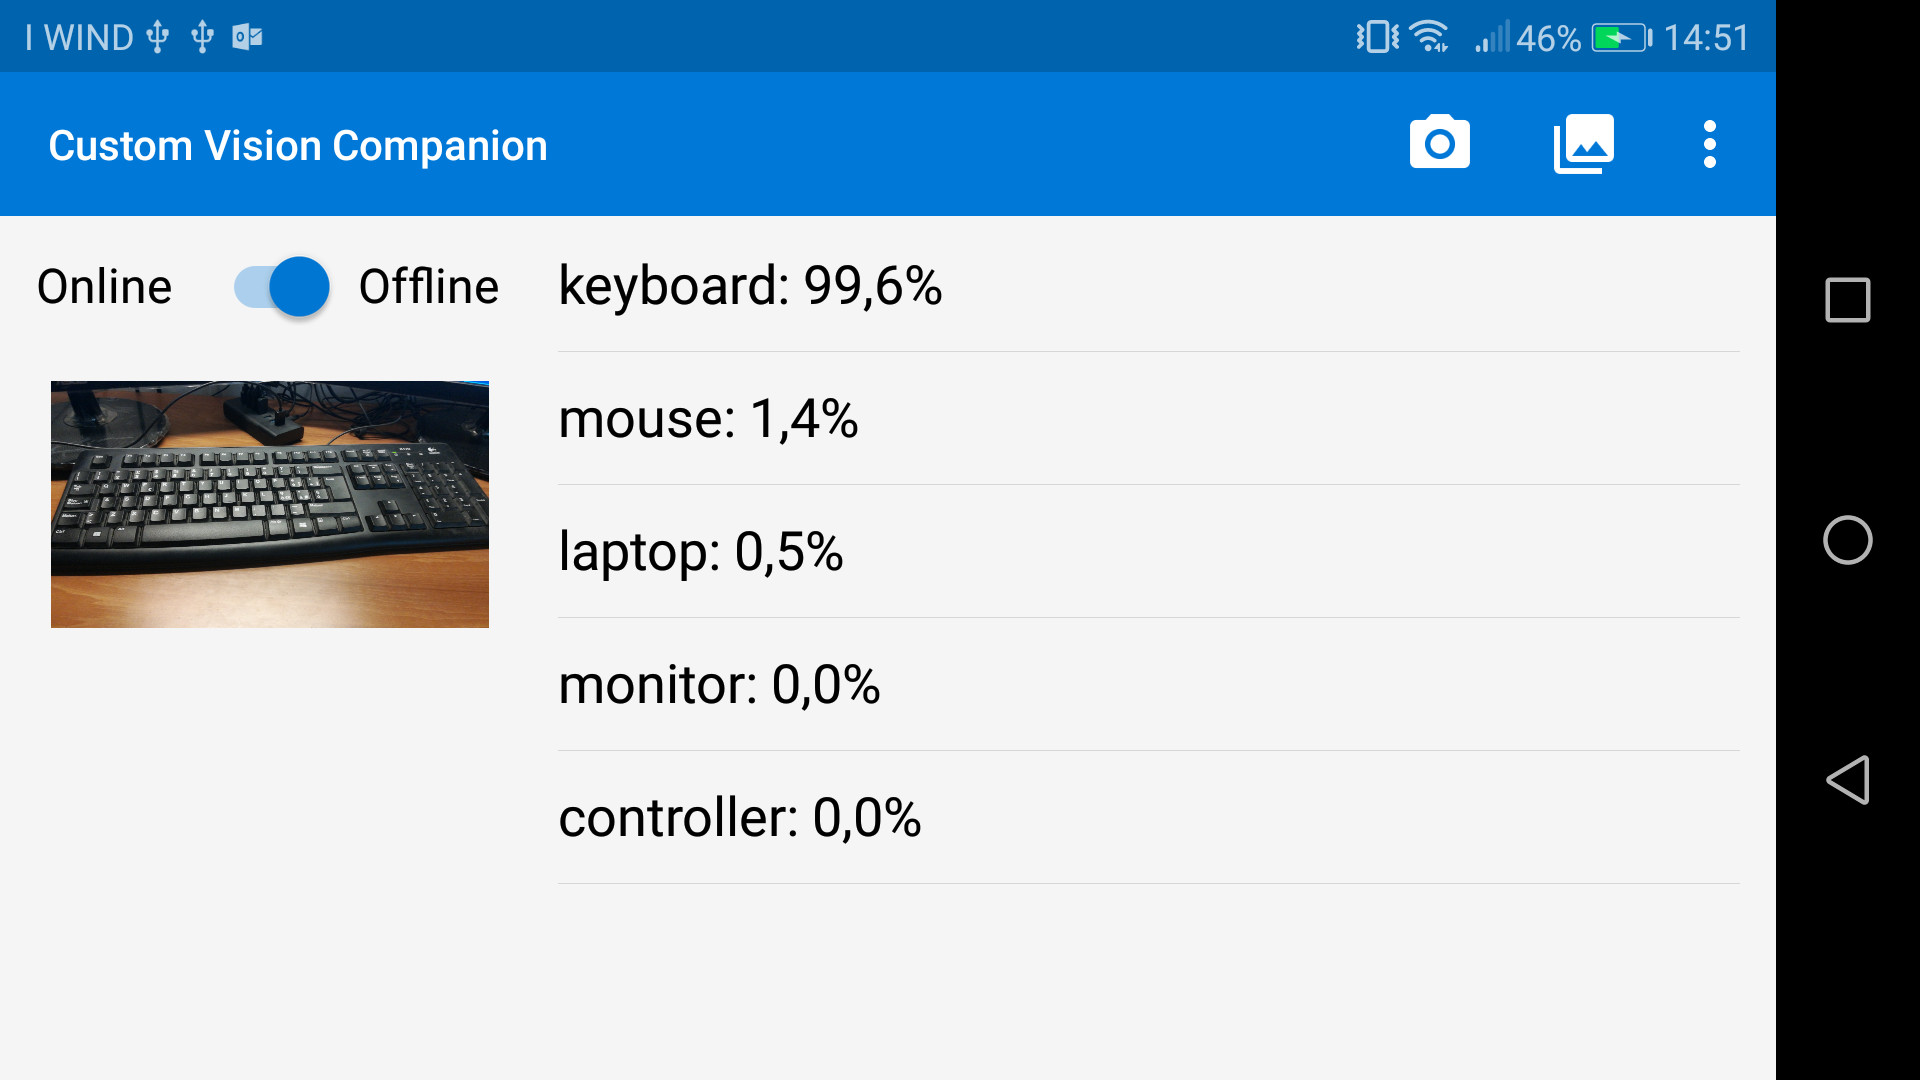
A Xamarin.Forms app showcasing how to use Custom Vision Service with either online and offline models. Android, iOS and UWP are currently supported.

Getting started
To use an online model, launch the app, go to the Settings page and then set Region, Project Name, Prediction Key and Iteration Id using the values you can grab from Custom Vision Service Portal.
The sample contains an offline model exported from Custom Vision Service, for Android, iOS and UWP. It has been trained to recognize laptops, keyboards, mice, monitors and controllers. You can easily replace it with your own: after the training, you just need to download the models from Custom Vision Service Portal.
Android offline models
-
Replace the model.pb and labels.txt files in the Assets folder with your own model. Be sure that the Build Action of both files must be set to AndroidAsset.
-
Add the following line in the OnCreate method in MainActivity.cs:
CrossOfflineClassifier.Current.InitializeAsync(ModelType.General, "model.pb", "labels.txt");
iOS offline models
- Replace the .mlmodel file in the Resources folder with your own model. Be sure that the Build Action of this file must be set to BundleResource. The model will be automatically compiled at app startup.
- OR
- Manually compile the ML model and add it to the project. The CoreML compiler is included with the Xcode developer tools (Xcode 9 and higher). To compile an .mlmodel, run:
xcrun coremlcompiler compile {model.mlmodel} {outputFolder}
- Put the output folder inside the Resources folder. Be sure that the Build Action of each file must be set to BundleResource.
- Add the following line in the FinishedLaunching method in AppDelegate.cs:
CrossOfflineClassifier.Current.InitializeAsync(ModelType.General, "Computer");
UWP offline models
-
Replace the Computer.onnx file in the Assets/Models folder with your own model. Be sure that the Build Action of this file must be set to Content. Note that, when you add the file to the project, Visual Studio will automatically create a .cs file containing the code to use the model. You can safely delete it, as this project already contains a standard implementation.
-
Add the following line in the constructor of MainPage.xaml.cs:
CrossOfflineClassifier.Current.InitializeAsync(ModelType.General, "ms-appx:///Assets/Models/Computer.onnx");
Contribute
The project is continuously evolving. We welcome contributions. Feel free to file issues and pull requests on the repo and we'll address them as we can.