ambient is a social listening experience app, where artists and other content creators can reach and interact with the audience. This documentation is written for developers who want to understand how the ambient frontend app work. It will also give a step-by-step guide to install and run it locally.
The backend overview and installation will not be covered here, but you can read about it at ambient-BE.
To follow this guide, readers should be familiar with:
- basic terminal commands (installing, configuring and running packages)
- cloning or downloading a repository on GitHub
The app is compatible only with Android OS, however you won't need a physical device to run it.
- User Interface (UI) with React and React Native for Android
- Authentication and Playback Sync with Spotify Web API
- Requests with a RESTful API
- Instant Messaging (IM) and WebRTC with WebSockets
- Android Studio
- OpenJDK
11.0or newer - Node
14.0or newer - Watchman for macOS/Linux only
- Windows, MacOs or Linux
- Android Virtual Device (AVD) or a physical device with Android
See Getting Started to install requirement tools.
- React JS
16.13.1JavaScript library for UI - React Native
0.63.4for building native apps using React - Expo
42.0.1provides tools to use in "vanilla" React Native app ("bare workflow") - Babel
7.9.0for ES6+ support - Socket.io
4.3.2bidirectional and low-latency communication - PeerJs
1.1.0library that simplifies WebRTC peer-to-peer data and audio calls
Follow the instructions for installing dependencies to the development environment for React Native.
Make sure to select:
- React Native CLI Quickstart
- Development OS: Your OS
- Target OS: Android
By the end of this step, you should have installed:
- Node
- Java SE Development Kit (JDK)
- Android Studio
- Android SDK
- Watchman (MacOS/Linux only)
Also, follow the instructions in the link above to verify that the environment variables for the Android SDK are set correctly.
To run the app, you will either need to have a physical device with Android OS and a compatible USB cable, or you will have to create a virtual device:
-
Physical Device:
- Plug it in to your computer using a USB cable
- Folow the instructions here
-
Virtual Device:
-
Open "AVD Manager" from within Android Studio
-
If you have an existing AVD, you can skip to step iv
-
Create a new AVD:
- Select "Create Virtual Device"
- Pick any phone from the list and click "Next"
- Select R API Level 30 image and click "Next"
- Click "Finish"
-
Launch the AVD by clicking the green triangle button
-
In a Terminal, navigate to the folder where you want to install the app and run:
git clone https://github.com/Costa-Alexandre/ambient-FE.git
cd ambient-FEambient uses Yarn for dependency management. You can verify if you have it installed by running:
yarn --versionIf you don't have Yarn, follow these instructions for installing.
Once installed, make sure you are in /ambient-FE path and run:
yarn install- Start Metro Bundler
Run:
yarn start- Start the application
Let Metro Bundler run in its own terminal. Open a new terminal inside ambient project folder.
Run:
yarn android- Get a coffee ☕ (or take a short break)
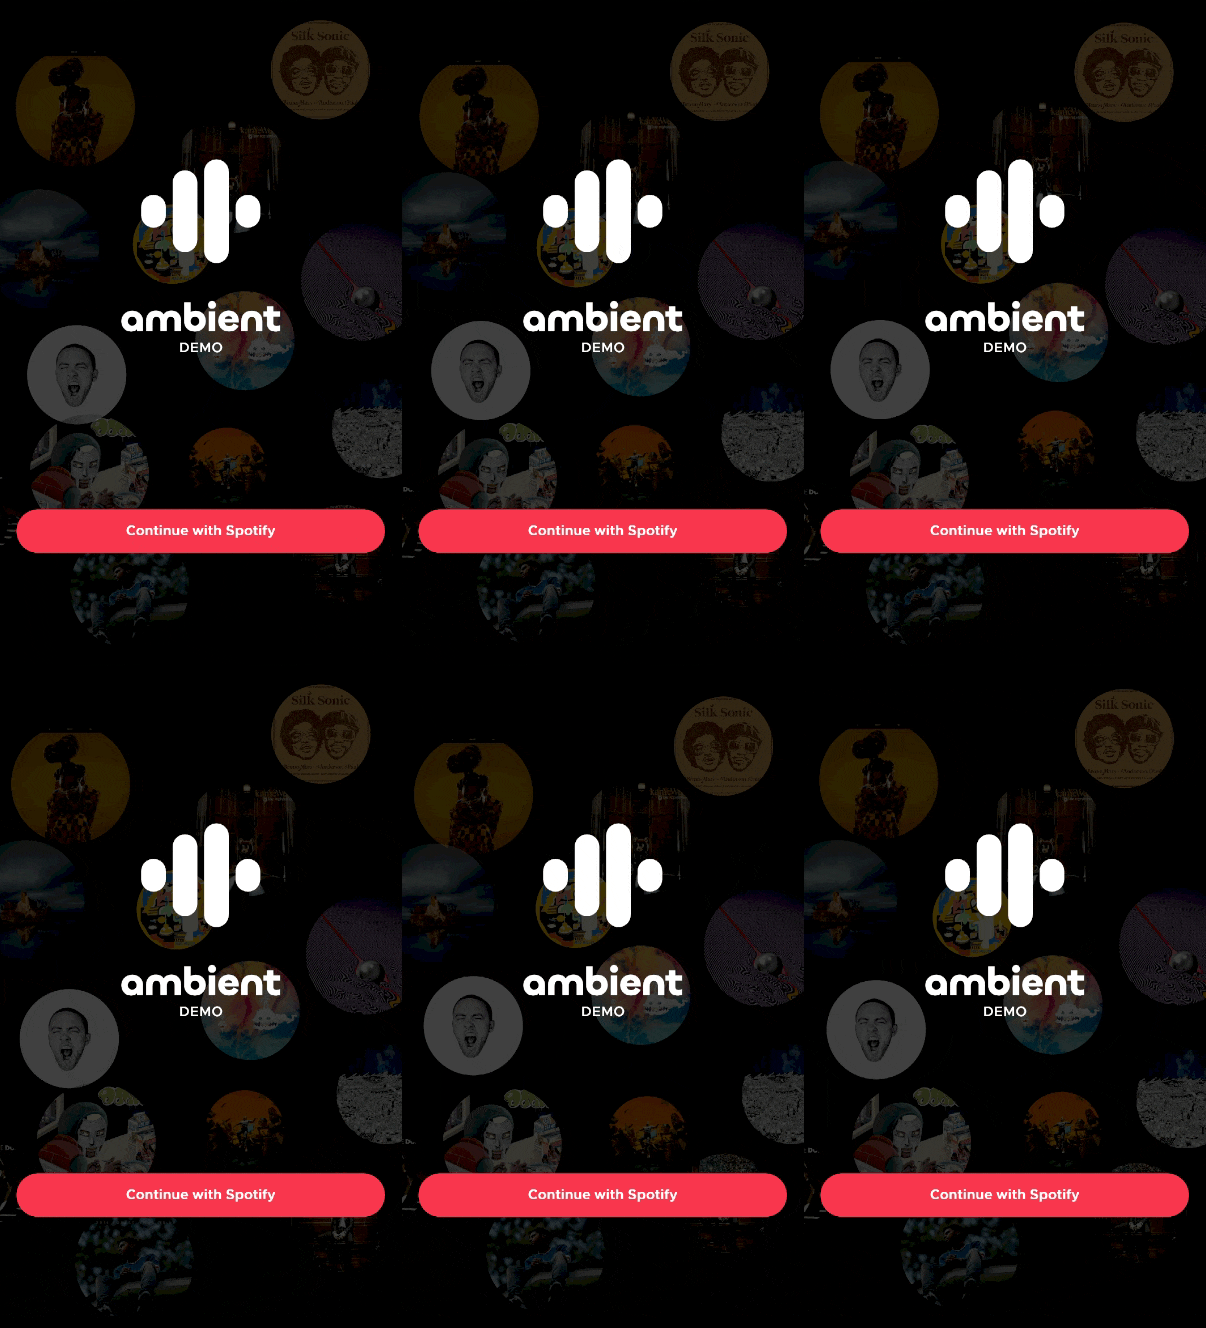
The previous command might take several minutes. If everything is set up correctly, you should see ambient initial screen running in your Android emulator after the build is finished:

