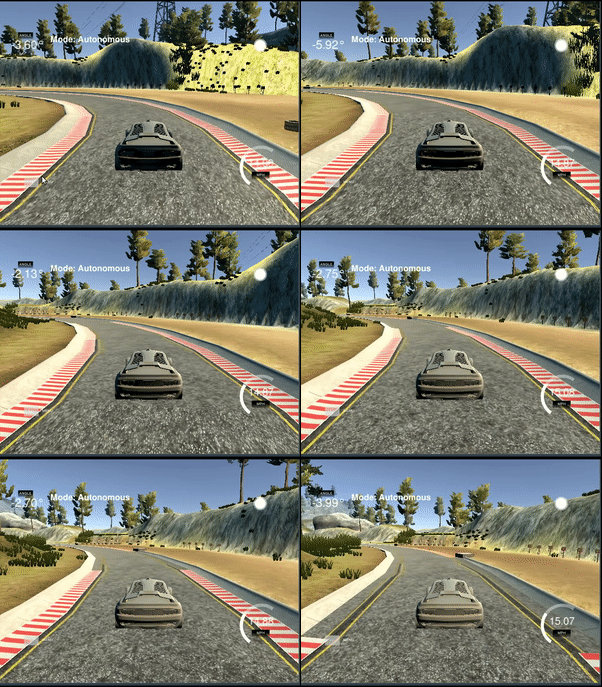
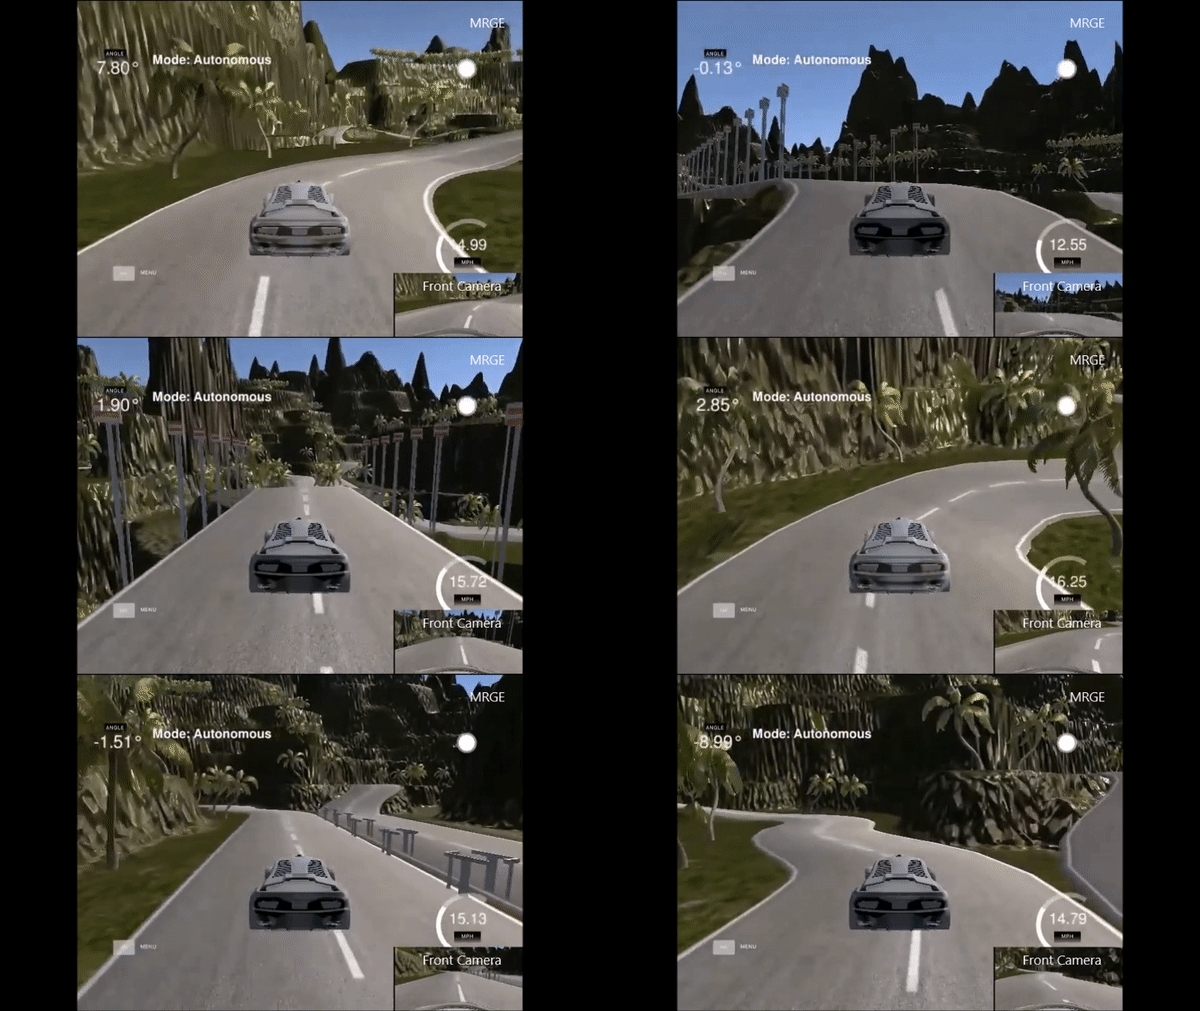
The aim of this project is to create an end to end CNN to drive a car in a simulated environment. As a quick example of the final performance of the deep neural network please find the following illustrations of the model driving the car along some simulated tracks:
Project Outline
The steps of this project were as follows:
- Collecting data of good driving behavior in the simulator.
- Building, a convolution neural network that predicts steering angles from images obtained from the 3 cameras mounted in front of the car.
- Training and validating the model.
- Testing that the model successfully drives around a track without leaving the road
Files presented in the repository
model.pycontaining the script to create and train the modeldrive.pycontaining the script for driving the car in autonomous mode once we got themodel.h5file. To drive based on a model you should do:
python drive.py model.h5 <dir_where_images_will_be_stored>
model.h5containing the trained convolution neural network.video.pycontaining the script to create the video based on the frames taken from the front camera obtained by the output ofdrive.py. To create a video based on images you should do:
python video.py <dir_where_images_have_been_stored>
endToEndDriving.mp4video containing an example of the performance of the car driving along a simulated track.EDA.ipynbJupyter notebook containing all Exploratory Data Analysismodel.ipynbJupyter notebook containing all steps followed in the development of this work. In fact,model.pyis a summary of steps that were analyzed and explained in this notebook.
Dependencies
You can download the simulator depending on your OS in the following paths:
Data was collected by driving along the simulator. The strategies followed to collect data were as follows:
- The driving was manual and was done by driving the car with keyboard and mouse inputs.
- The driving was very difficult to do with a keyboard and a mouse. Therefore, I decided to drive in the middle of the road instead of the lane line. Hence, The network learned to drive in the middle of the road instead of inside a lane line.
- To improve even more in the collection of data probably it will be better to manipulate the car with a more car-like hardware such as a steering wheel instead of a keyboard or mouse.
- two simulated tracks were used to avoid overfitting and help the network generalize.
- The driving was done in both directions of the track so that the car learns from data. i.e. I drove forward and backward.
- The car has 3 cameras mounted on the front of the car as illustrated below:
EDA
All the recordings I got from the manual driving had the following structure:
where:
steering angle:Steering angle value based on central camera (Range: -1 to 1). For this project only this car value for taken into account. All the reaming values listed below can potetially improve the performance of the driving though.Throttle value:(Range: 0 to 1)Brake value:Will be all zero mostly since I didn't stop a lot.Speed:Speed of the car (Range: 0 to 30 mph)
Performing some data analysis, I found that most of the data I took from the manual driving was around the zero value steering. The reason is that I used a keyboard and I tried to steer only when I started to get deviated from the middle of the road. The following image from one of the recordings I used in this project is shown below:
Because of this problem I decided to randomly filter out some of the close to zero steering recordings to clip them to around 500 values which resulted in the following outcome:
Finally I performed the same filter to all recordings. i.e. I filter out all images from the 2 track manual driving forward and backward recordings. Then I joined all of them and I got a total number of 10125 samples.
However, since in each of the samples, as explained above, there was data from 3 cameras. I ended up with a final number of 30375 samples. Nevertheless, to incorporate all the camera information I had to do a little modification, as shown below:
As shown above I have only one steering measurement. The reason is that we only need one and the other ones can be calculated based on trigonometry. However, in this exercise, I was a little lazy and I just picked up a random correction factor and tune it with a trial and error process. The best correction factor I found so far is correction_factor = 0.2
That means that:
- For the
left camerasample the steering wassteering angle + correction_factor - For the
right camerasample the steering wassteering angle - correction_factor
A Convolutional Neural Network CNN model architecture was used in this project to learn from the camera images. The architecture was inspired on the Nvidea End-to-End Deep learning model. The overall architecture from Nvidea is as follows:
My final model architecture was as follows:
As shown in the architecture of my network above. I used a Lambda layer and a cropping2D layer to preprocess data.
- The
Lambdalayer let me standardize the input images as follows:
model.add(Lambda(lambda img: img/255.0 - 0.5, input_shape=(160,320,3)))
Where the image pixels are divided by 255 to normalize the values from 0 to 1. Then the 0.5 let me standardize the pixels around 0 with a standard deviation closed to 0.5.
The reason to perform this step was because I wanted a well conditioned data to help my network reduce the cost function as explained below:
- The
cropping2Dlayer let me crop out all the background from the camera images that does not mean anything in the decision-making of the car. This way I help my network focus on the pixels that have a meaning to steer the car, as shown below:
model.add(Cropping2D(cropping=((60,20), (0,0))))
The model parameters used in this project are the following:
-
Loss function: a Mean Squarred Error (MSE) was selected as a loss function since this network is of a regression type, where we want to reduce the error between the steering angle predicted and the steering angle provided by the manual driving I performed at the beginning.
-
Optimizer: an Adam optimizer was selected because it is one of the most stable optimizers that take into accound momemntum.
-
Learning rate: the learning rate of the Adam optimizer was set to
1e-3- To improve the performance we could've perform a learning decay callback.
-
To avoid overfitting I also implemented an
early stopstrategy which stops the training process once the validation loss does not decrease in 2 epochs. -
Number of epochs: this value was set to 5 because I was testing with different parameter of the model to optimize it. So I didn't want to consume all of my time waiting for the training process.
- A great improvement in this project could be to increase the number of epochs so that the network performed even better.
-
Batch size: batch size was set to 10 because the RAM capacity of my machine was very poor a could not stand more than that. I also created a generator so that data is only allocated to the RAM when it is needed.
In conclusion this project help me learned about the potential of an End-to-End deep neural network to drive a car based only on images from cameras. Some potential future work for this project could be:
- Taking into account velocity of the car as part of the training process. This way we can control the velocity of the car as well.
- Get the data through a better hardware setup. For instance use a steering wheel in the simulator will be an awesome start.
- Train the model further. This will require let the network train for several hours or even days.
Overall this project was very entartaining to do. The Final outcome can be seen in the following video

