实现 halcon 版本的动态均方差阈值分割算法, 不依赖opencv
修复上一版结果偏差问题
基于积分图进行加速计算 重新实现boxfileter

网上说明 https://www.cnblogs.com/xh6300/p/6384542.html var_threshold
先看var_threshold算子的签名:
var_threshold(Image : Region : MaskWidth, MaskHeight, StdDevScale, AbsThreshold, LightDark : )
MaskWidth、 MaskHeight是用于滤波平滑的掩膜单元;StdDevScale是标准差乘数因子(简称标准差因子);AbsThreshold是设定的绝对阈值;LightDark有4个值可选,'light'、'dark'、'equal'、'not_equal'。
需要强调的是var_threshold算子和dyn_threshold算子极为类似。不同的是var_threshold集成度更高,并且加入了“标准差×标准差因子”这一变量。
举例:
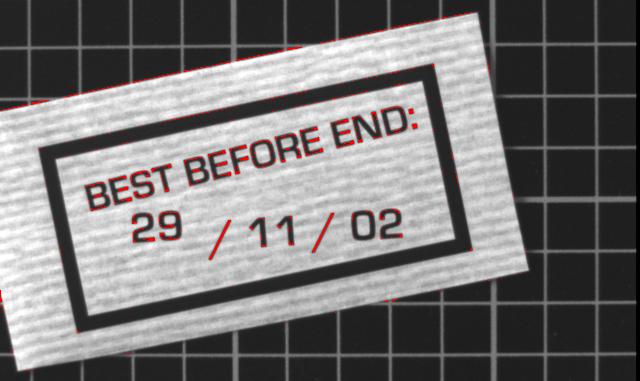
1 read_image (Image, 'C:/1.png') 2 var_threshold (Image, Region, 4, 4, 0.2, 12, 'dark')
在该程序中,先用4×4的掩膜在图像上逐像素游走,用原图中的当前像素和对应掩膜中16个像素的灰度均值对比,找出暗(dark)的区域。当原图像素灰度比对应的掩膜灰度均值低(0.2,12)个灰阶时,该区域被分割出来。本程序中StdDevScale = 0.2, AbsThreshold = 12,问题的关键就是理解如何通过StdDevScale和AbsThreshold来确定用于分割的阈值。
var_threshold的帮助文档中是这么写的:
说明:
1、d(x,y)指的是遍历每个像素时,掩膜覆盖的那些像素块(本例中是4×4 = 16个像素)灰度的标准差;StdDevScale 是标准差因子。
2、当标准差因子StdDevScale ≥ 0 时,v(x,y) 取(StdDevScale ×标准差)和AbsThreshold 中较大的那个。
3、当标准差因子StdDevScale < 0 时,v(x,y) 取(StdDevScale ×标准差)和AbsThreshold 中较小的那个。实测发现,这里的比较大小是带符号比较,由于标准差是非负数,当StdDevScale < 0 时,(StdDevScale ×标准差)≤ 0恒成立。所以此时的取值就是(StdDevScale ×标准差)。
文档是这么说的:
If StdDevScale*dev(x,y) is below AbsThreshold for positive values of StdDevScale or above for negative values StdDevScale, AbsThreshold is taken instead.
大致意思是:
当StdDevScale为正时,如果StdDevScale*dev(x,y) 低于 AbsThreshold,则采用AbsThreshold。
当StdDevScale为负时,如果StdDevScale*dev(x,y) 高于 AbsThreshold,则采用AbsThreshold。
我找了一块黑白过渡处4×4的像素块,求得它的灰度标准差为51.16(或49.53):
帮助文档中StdDevScale 的推荐值范围是-1~1,一般通过上面的例子可知,一般的明显的黑白过度处的标准差在50左右,乘以StdDevScale即-50 ~ 50 ,50的灰度差异,对于分割来说一般是够了的。
文档还说:推荐的值是0.2,如果参数StdDevScale太大,可能分割不出任何东西;如果参数StdDevScale太小(例如-2),可能会把整个图像区域全部输出,也就说达不到有效分割的目的。(……with 0.2 as a suggested value. If the parameter is too high or too low, an empty or full region may be returned.)
最后再看看是怎么分割像素的:

其中g(x,y)指的是原始图像当前像素的灰度值;m(x,y)指的是遍历像素时,掩膜覆盖的像素的平均灰度值(mean)。
以LightDark = ‘dark’为例,当满足m(x,y) - g(x,y) ≥ v(x,y)时(即原始图像对应像素灰度比掩膜像素灰度均值低v(x,y)个灰度值以上),相应的灰度值低的暗像素被分割出来。
最后看几个例子体会一下:(对比之前的例子var_threshold (Image, Region, 4, 4, 0.2, 12, 'dark')的效果)
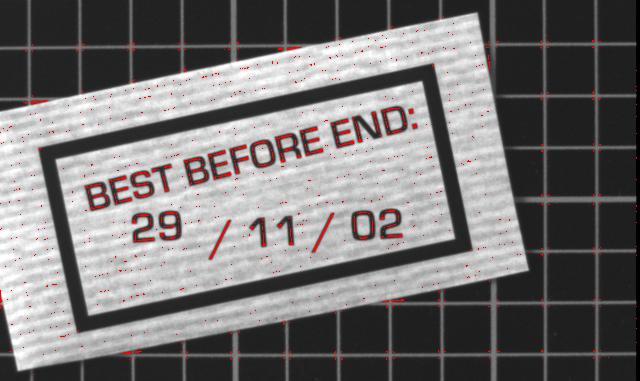
① 将AbsThreshold 由12改成30,此时分割出的区域变小。
1 read_image (Image, 'C:/1.png') 2 var_threshold (Image, Region, 4, 4, 0.2, 30, 'dark')
② AbsThreshold 保持12不变,将StdDevScale由0.2改成0.7,此时分割出的区域变小。
③ 将参数改为var_threshold (Image, Region, 4, 4, -0.01, 12, 'dark'),此时分割出的区域大大增加,由前面的分析可知,此时参数AbsThreshold = 12无效,事实上,此时将AbsThreshold 改为1、50甚至200都对最终结果没有任何影响。
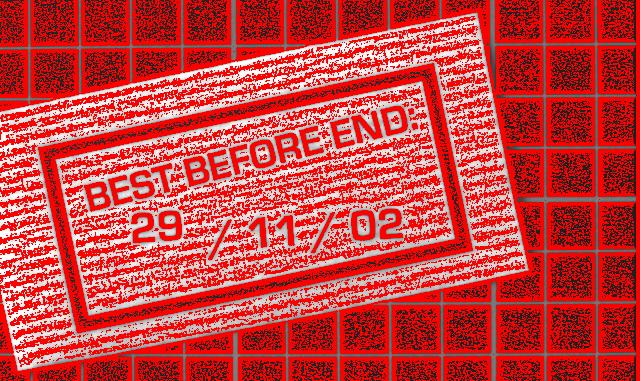
通过本人的分析,我认为StdDevScale取负值意义不大,因为它会分割出大量的不需要的区域,故一般推荐使用该算子时,StdDevScale取正值。 需要强调的是:在黑白过渡处,一般掩膜覆盖的像素的标准差较大,而在其他平缓的地方,标准差较小;因此最终采用的分割阈值随着掩膜在不断遍历像素的过程中,在(StdDevScale×标准差)和AbsThreshold 之间不断切换。
var_threshold和dyn_threshold的区别和联系: dyn_threshold是将原图和滤波平滑后的图对比,var_threshold是将原图和对应像素掩膜覆盖的像素的平均灰度值对比。
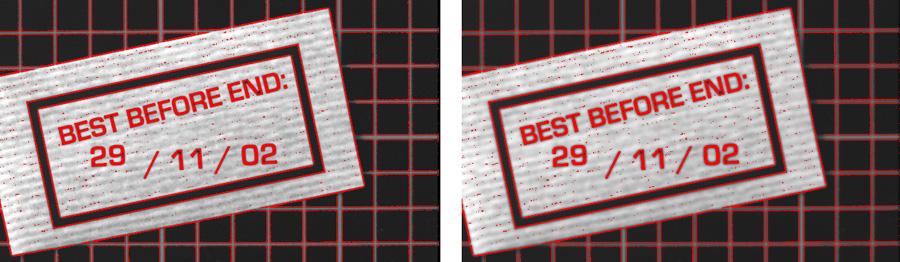
在算子var_threshold中,如果参数StdDevScale = 0,那么就可以用动态阈值的方式非常近似地模拟。以下两种算法的效果极为类似:
1 read_image (Image, 'C:/1.png')
2 var_threshold (Image, Region, 4, 4, 0, 12, 'dark')
1 read_image (Image, 'C:/1.png')
2 mean_image (Image, ImageMean, 4, 4)
3 dyn_threshold (Image, ImageMean, RegionDynThresh, 12, 'dark')
两种方法的效果图:
那么当StdDevScale > 0 时,var_threshold对比dyn_threshold还存在什么优点呢?我认为是在黑白过渡处能减少分割出不需要的区域的概率。(因为黑白过渡处标准差大,当然前提是StdDevScale 不能设置得太小)