RoboInstruct
This framework is designed to demonstrate arbitrary object manipulation tasks to a robot in the simulation, and train a recurrent neural network to autonomously mimic that behavior in the simulation or on a Baxter robot. The demonstrations contain the pose and status (open/close) of the gripper and the pose of relevant objects. At each time-step, the neural network takes this information as input and predicts the next pose of the gripper. You can simply move the gripper to manipulate some objects in the simulator. Then, train a network using the recorded data. The network will reproduce the behavior if you provide it with enough demonstrations. You can also do some fun experiments, for instance, ask the network to predict the trajectory of a falling object or two colliding objects.
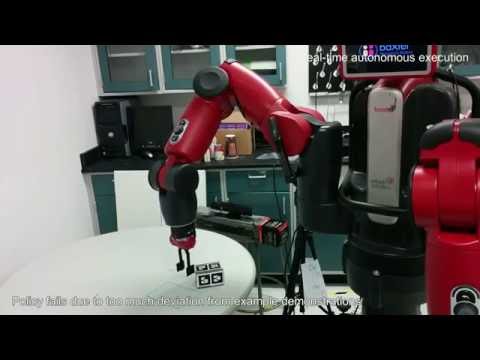
Video
Paper
- R. Rahmatizadeh, P. Abolghasemi, A. Behal, and L. Bölöni. Learning real manipulation tasks from virtual demonstrations using LSTM. arXiv
Dataset
The dataset of trajectories performed by our team is placed in trajectories.zip file. You can extract them in the same location and train the network using that data. It contains around 369,477 waypoints for the pushing task and 107,533 waypoints for the pick and place task. It took only a few hours to gather those trajectories. so, you can try it yourself by defining your own task in the simulation and demonstrating it to the robot.
Pre-trained model
You can find a pre-trained model of the pushing task here. To use this model, first run the Unity3D project and then sample.py using the default parameters. The training took a few hours on a GTX 1070 GPU.
Installation
It can be installed on Linux or Windows. First, you need to install:
Simulator
When Unity is installed, you can add the entire roboinstruct folder as a project. When you open the project in Unity3D, you will see the gripper. There are different modes for the simulator that can be set using the mode variable at the beggining of Record_playback.cs script. If you set it to Record, you can freely move the gripper and the trajectory would be saved in the trajectories folder. If you set it to PlayPrediction and also run the sample.py, the task would be performed automatically based on the prediction of trained model.
The UI.cs file defines different tasks, so, you might want to define your own task similar to the pre-defined tasks. The current task can be set using the task variable in the script. Make sure you change it on the Manager game object that UI.cs is attached to.
The Unity3D project can be built and executed as a web application. Therefore, you can put it on a server and ask people to do the demonstrations. You can also design different tasks as different levels of a game to make it fun. This way you can gather large amount of data to train the network on very complex tasks. The functionality of sending the trajectory data to a server is implemented in the Record_playback.csfile.
Learning
All the learning code is in the blocks folder.
make_dataset.py reads the data from trajectories folder and converts it into the Datastream format for Blocks
train.py trains the network and saves the model into the models folder after each epoch.
sample.py loads the saved model and generates the trajectory by reading the predictions/sceneState file that is written by Unity3D and writing the prediction into predictions/prediction to change the gripper pose in Unity3D. The Unity3D project should be started so that it reports the object poses and moves the gripper according to the network prediction.
All the parameters can be set in config.py.
There are many ideas implemented that are not included in the paper such as multi-task learning, multi-timescale learning, auxiliary predictions, hierarchical model, specialized and shared model, helper model, softmax as an output, etc. You can take a look at the config.py to see a short description of these ideas. If you feel confident, you can change these parameters.
If you want to use the multi-timescale feature, the folder roboinstruct/blocks/blocks code/ needs to be copied to the Blocks code (e.g. /usr/local/lib/python2.7/dist-packages/blocks/bricks/recurrent) to replace the existing files. We needed to change the blocks code in order to implement the multi-timescale feature used in Clockwork RNN. It is a dirty way to implement it but you probably will not need to use it at all.
Controlling the Baxter robot
In order to control a Baxter robot, the trajectory of end-effector needs to be converted to joint angles and the pose of objets need to be extracted using a Kinect sensor. The part of code to do this task is in the blocks/baxter folder that can be copied to the examples folder of ROS Baxter package. In addition, the marker tracker package Alvar needs to be installed. The files in blocks/baxter/ar_track_alvar can be copied to the ROS package folder of the tracker. The markers need to be printed and put on the box in the same positions as in box.xml file.
Acknowledgment
We gratefully thank Sergey Levine for sharing some interesting ideas that are implemented in this repository.
The code in the char-rnn repository helped a lot in this project.